


The idea of building your own gaming PC may seem daunting, particularly if you don’t necessarily have a vast knowledge of electronics and computing. You may think “what’s the point, I can just go out and buy one?” and you’d be correct in your thinking. However, there are advantages to building your own such as cost/affordability and customization. Now, add to that the ability to 3D print parts of your machine and you can see the possibilities.
In this article I’m going to go through the basics of building a gaming PC from scratch and show you what parts you need to buy and what you can 3D print. The actual machine won’t necessarily be the most advanced or “high-end” one you could build but I’ll hopefully give you a starting point to building your first using at least the minimum components you require.
So, let’s get started by going through the essential parts you’ll need to have to get your PC off the ground.
The Main Components
As with any functioning machine, some things are essential to make the thing work but there are extras you could add to make it better.. For instance, a bicycle needs a frame, saddle, handlebars and two wheels to make it usable. To make it safe you need to add brakes, lights and maybe a bell. To make it easier to use and more efficient you can add gears and maybe even an electric power component. None of the additions are essential but will make the bicycle work a whole lot better.
In the case of a gaming PC, there are things that you definitely need to make it work properly but again there will be added extras which will make it faster, more efficient and easier to use. I am though only going to be looking at the essential components but will also be looking at both purchasable options and if it’s possible to either fully 3D print a part or add 3D printed bits to it.
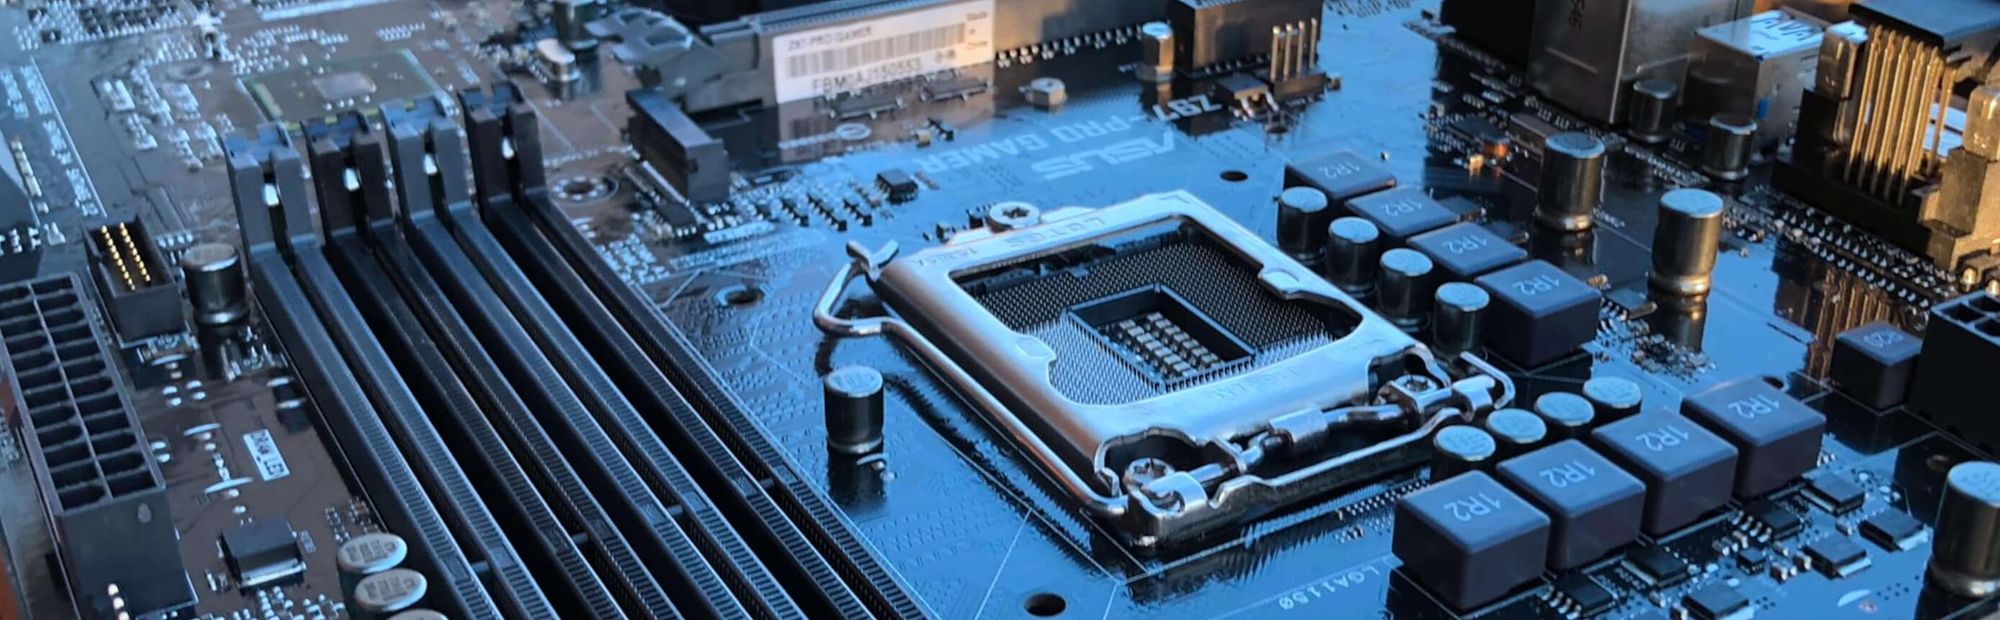
CPU (Central Processing Unit)
The CPU is the brain and heart of any PC and basically what makes your computer work. Instructions are routed through the CPU to different parts of the PC and it processes different information for both the hardware and software components. When we think or hear about a CPU one of the main considerations is speed which relates to how quickly it can process this information. Therefore the faster the CPU, the better it’s going to be for gaming purposes.
Graphics Card
Sometimes known as a GPU (Graphics Processing Unit), this is probably the most important part of a gaming PC. The GPU processes the image information from your game and transmits it in digital form onto your monitor. Again, as with the CPU, the better and faster the graphics card, the better the quality of the images, movement of the game and in-game settings.
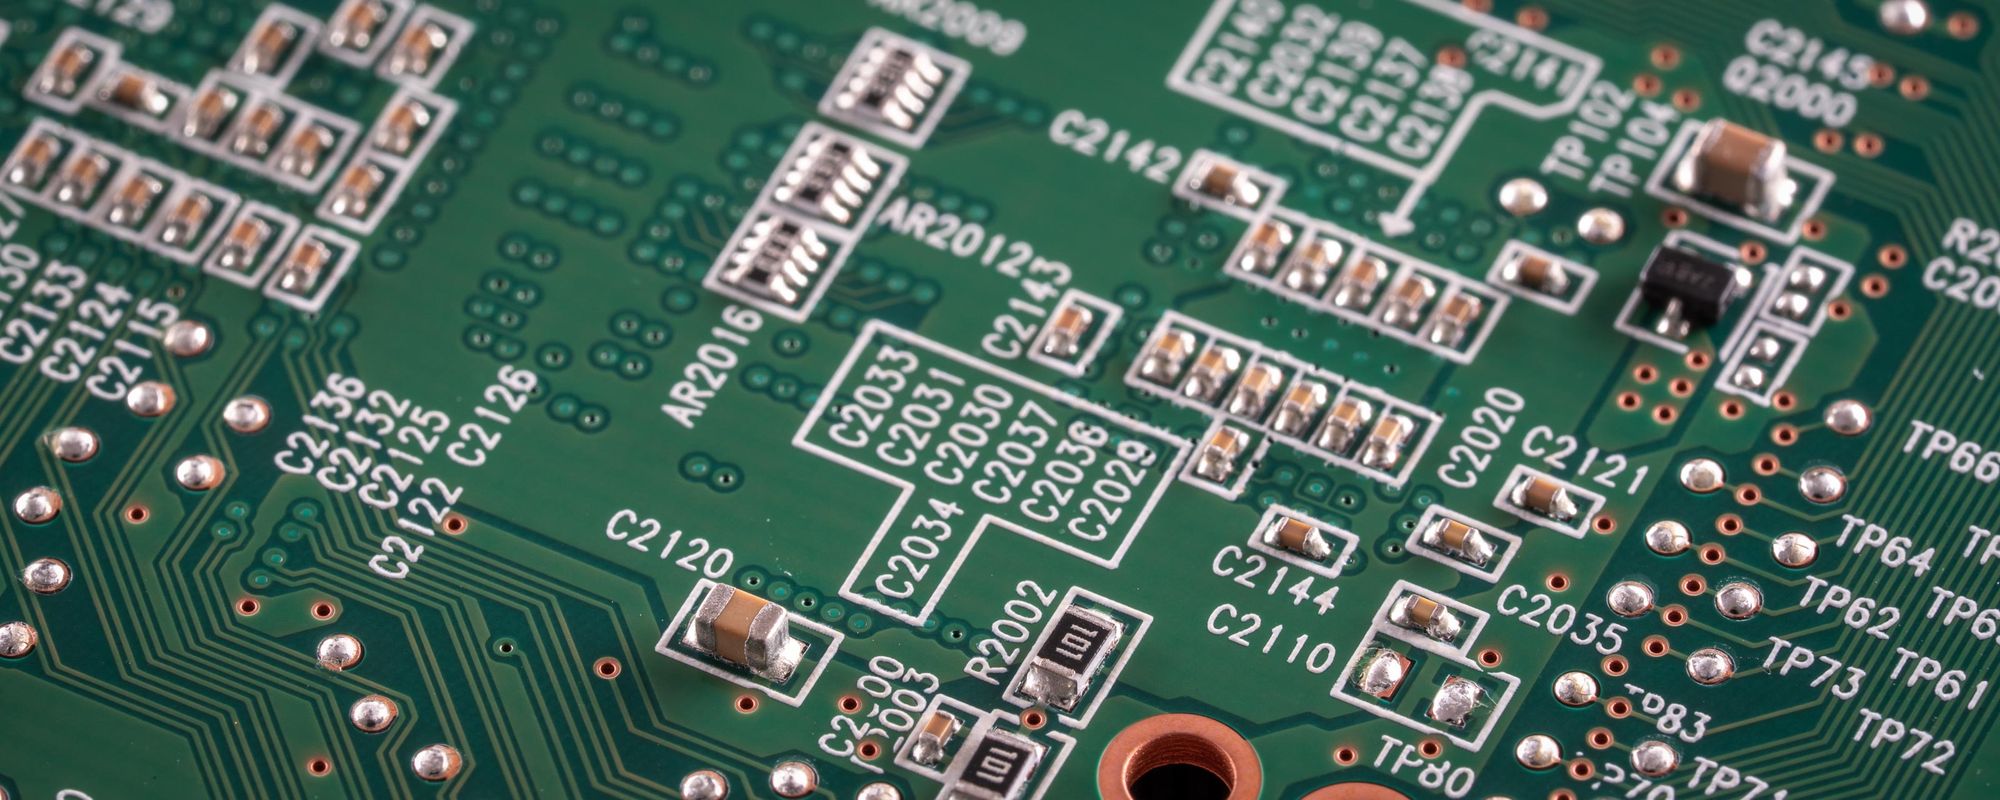
Mainboard
Again, sometimes known by the different name of motherboard, this is where all the hardware for your PC is connected and from where it’s controlled. A typical mainboard will have connections for the power to your PC as well as those for the graphics card, CPU and any number of the other components we’re looking at. Some mainboards can also have integrated graphics cards, Wi-Fi connectivity, USB and SD card ports etc.
Power Supply
Obviously, your PC isn’t going to do anything unless its connected to an appropriate power supply and which one you need will depend on a couple of factors. These will be the relevant voltage input setting for your country or region and the required voltage output to power your PC. The first of these is fairly straightforward but the latter can be a bit more complicated as you may have different requirements for the different parts of your machine. This is something I’ll be taking a look at later on.
These are sometimes confused as being the same thing and do use the same measurement to determine size, Gigabytes (GB).
Memory in this case relates to RAM (Random Access Memory) and will be an indication of how much information your PC can process at any one time. This is the “live” reading of the files and in terms of gaming, a very important aspect to consider. If you’re playing a game you don’t want it to lag in any way or run slower than you can control it. Therefore, the amount of RAM you have will control the speed at which your computer can deal with the information with which it’s being presented as you play. The RAM will be something that is defined in the spec of the CPU.
Storage is a type of memory but used in a different way. The most common forms of storage for your PC will be either a HDD (Hard Disk Drive) or SSD (Solid State Drive). Both of these perform the exact same function which is to store files that aren’t in use such as your games and other media. Obviously the bigger the storage capacity in GB the more stuff you can keep on your PC.
The Case
This technically isn’t essential as you can have an open framed PC which will naturally cool it but then you run the risk of dust and other contaminates intruding into your machine. Having a case for your PC can also be aesthetically pleasing and indeed one of the main things that can be 3D printed. You will also need a cooling fan or two though but again, there are 3D printable options available for these. Most graphics cards currently on the market will come with fans already attached but you may still need additional cooling for overall temperature control.
Added Extras
I started this off by saying that I’d only be covering the essential parts you need for your PC but it’s worth mentioning some other things that you could add. These will mostly be on the aesthetic side of things but, in the case of the aforementioned fan, can also be a functional aid to proper operation.
Things such as lighting will add a certain style to your PC and can be tailored to fit in with the theme of your gaming room. The type of lighting you use will mostly depend on the style of the case and whether it’s visible so only really useful for a clear sided option. Other things like an internal CD/DVD drive can be added but aren’t essential nowadays. These can also be added as external options at a later stage if necessary.
Then of course you will need some sort of input device for your PC which is usually a keyboard/mouse combination and you can get gaming specific versions of these. Game controllers are also an option.
Designing Your PC Build
The main decision here is what you need from your gaming PC. Are you going to go for speed over graphics or a combination of the two? Do you need a vast amount of storage or would a smaller capacity HDD be enough? Do you need extra ports to add a lot of peripherals or just the basics? How big is it going to be and where are you using it? All these questions and others are valid considerations before you set out on the path of buying and/or 3D printing the components.
So, let’s go through the main components again and this time look at purchasable options as well as 3D printed solutions where possible.
CPU and Graphics Card – purchase options
Obviously this one is going to be something that you’ll definite need to buy because as far as I’m aware, you can’t yet 3D print a microchip at home. The only option here then is to buy one and as with everything in this article, there are of course several potential options. The thing though when buying a CPU is to ensure that it’s a good match or pair with the graphics card.
Let’s go back a step with this now though as you need to remember that the PC is primarily for gaming so won’t need to be labour intensive when it comes to it’s output. The more important member of this partnership is the graphics card so that’s where your choice should start.
There are a lot of tech specs when it comes to graphics cards and CPUs so I won’t bore you with all the variations. The best thing to do is to look at what games you want to play. Many manufacturers will now give you an indication of things like the frame rate of popular games and the RAM requirements. This will then give you a good idea as to what specs your graphics card is going to need.
Conversely, in the case of the CPU, it’s not as important to be at the highest end in terms of spec as long as it’s capable of working with the graphics card. For instance, you won’t need to have an Intel i9 CPU running a graphics card with a 1080p/60hz gaming capacity. Have a look online for the various suggestions and best solutions for these combinations.
CPU and Graphics Card – 3D printable options
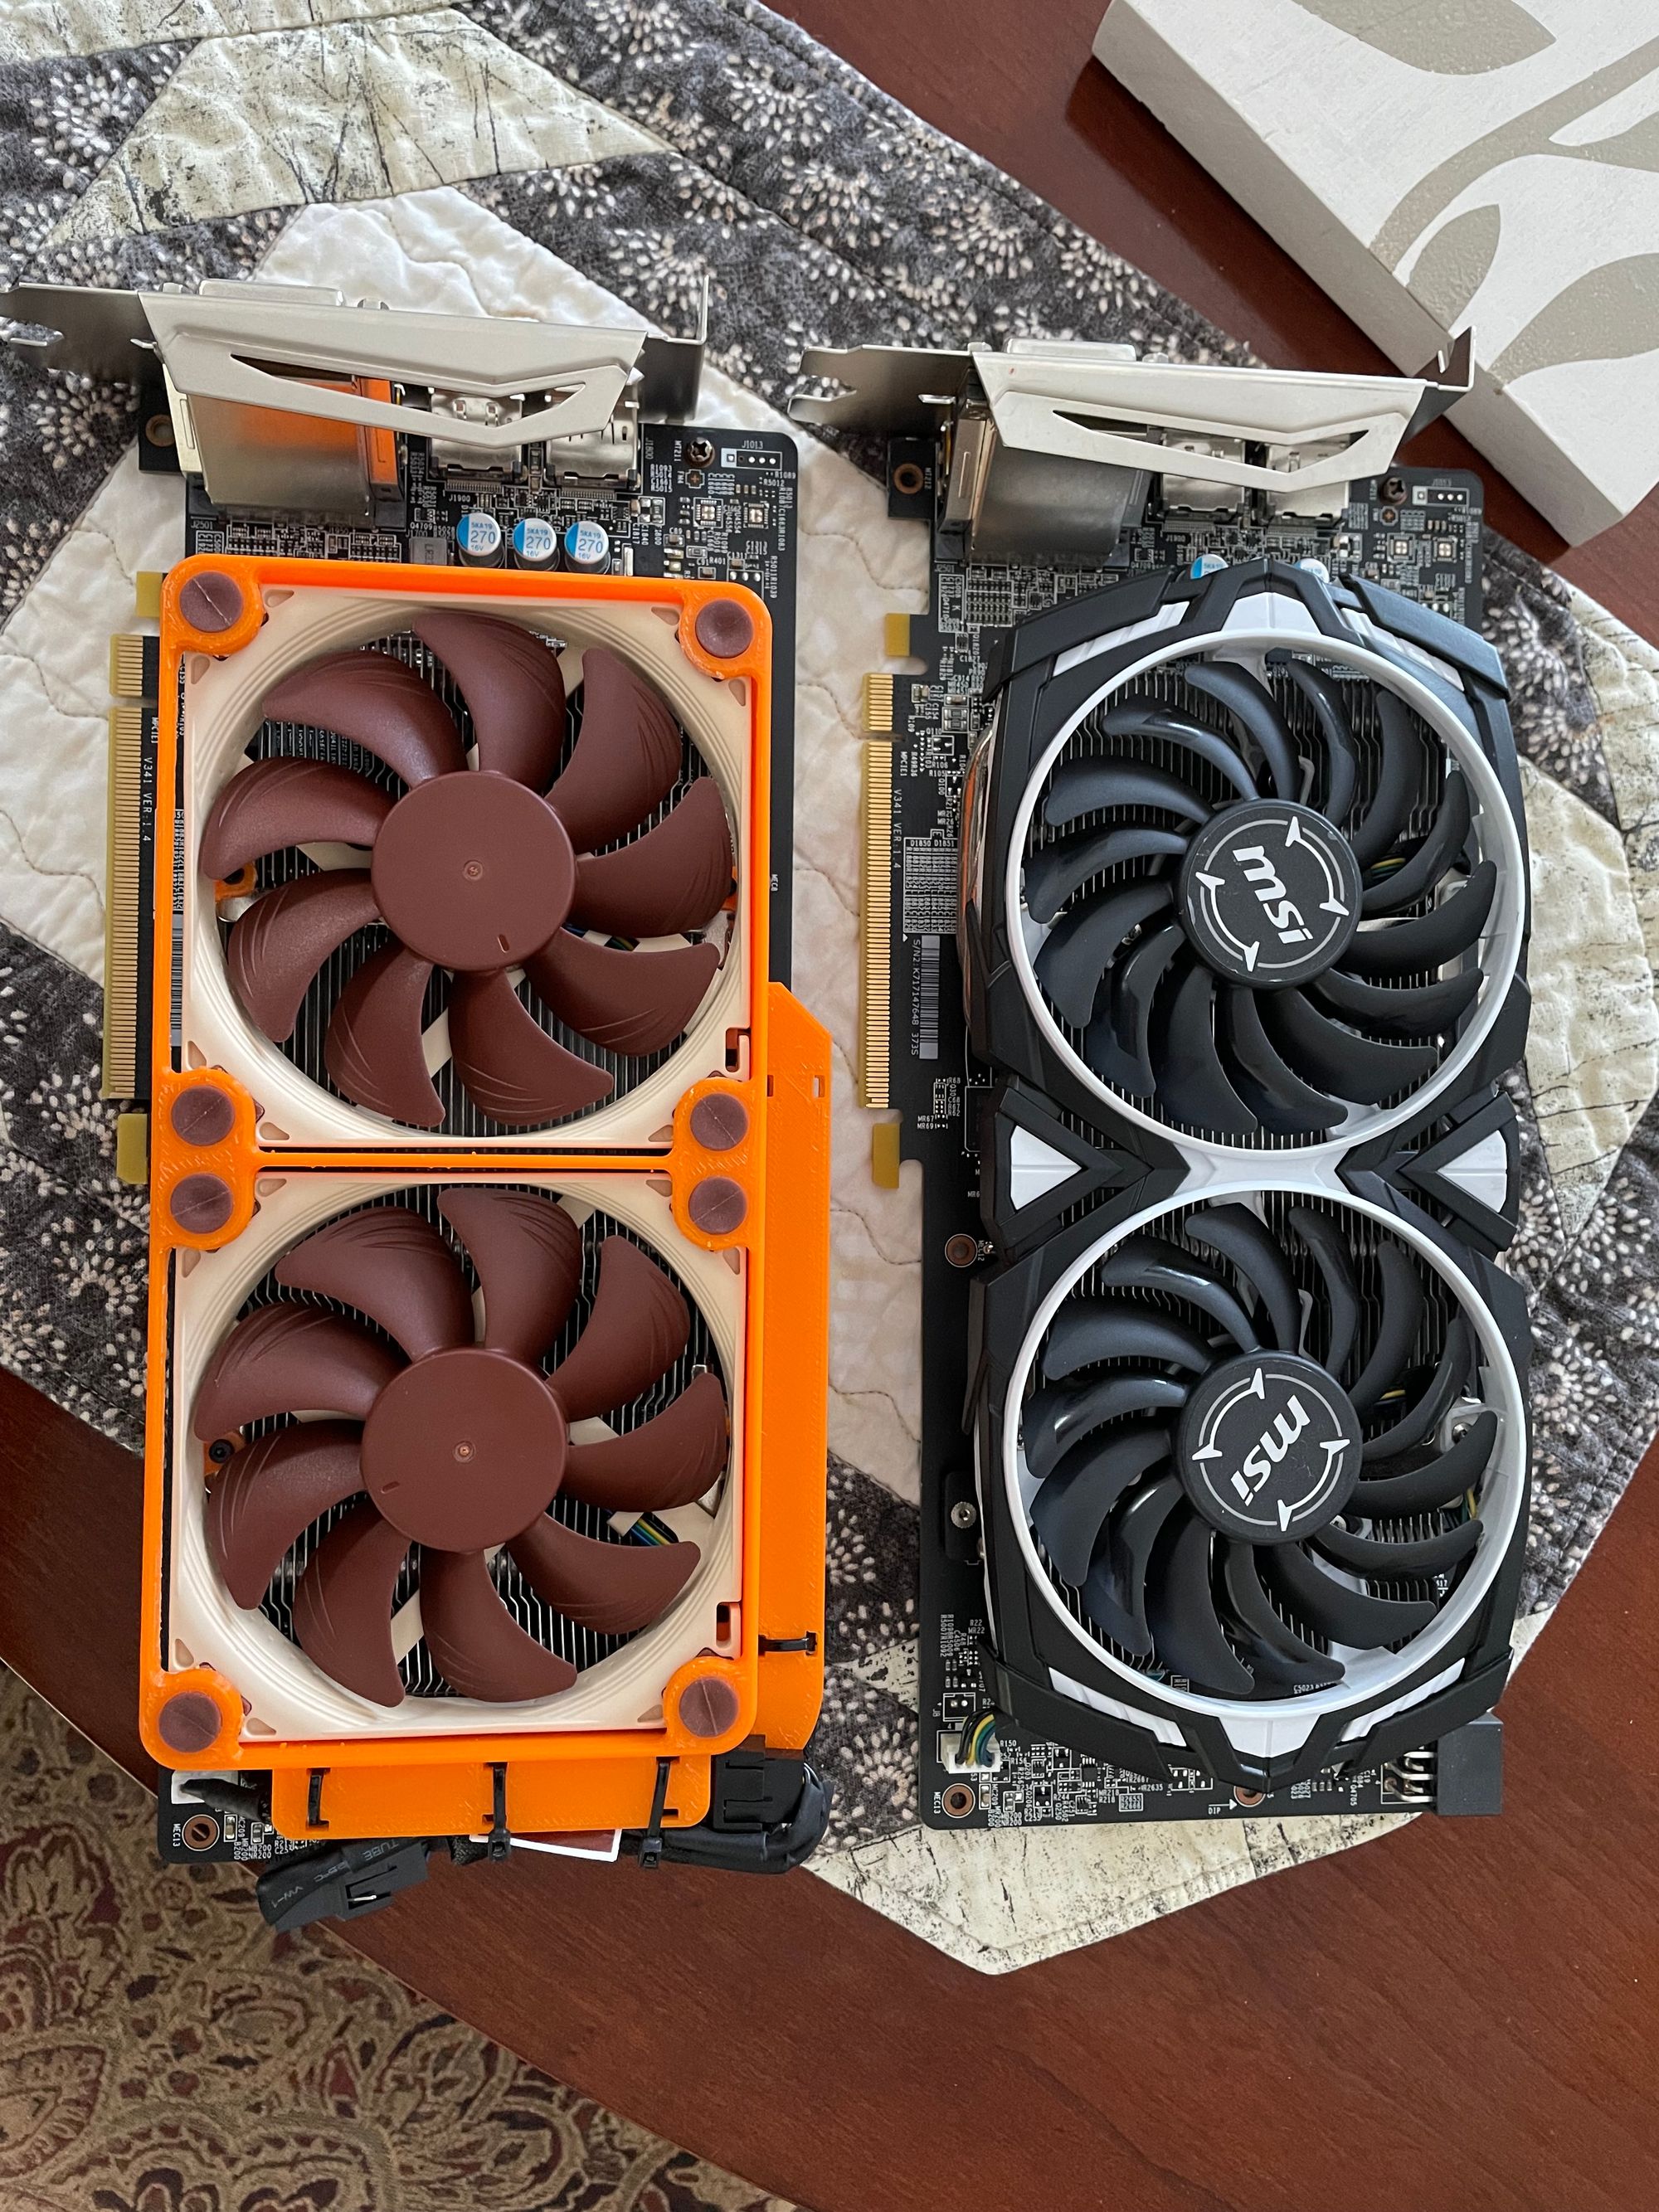
As I’ve said, you can’t 3D print the CPU and the graphics card falls into the same category. However, as I also said, graphics cards will usually have fans attached to them which can be adapted or changed using 3D printed parts.
A popular make of fan both in use in PCs and 3D printers is the Noctua which comes in a variety of sizes. Their popularity springs from their much quieter operating sound levels so people often change the stock fans out for Noctua. Take a look at this design as an example of a 3D printed attachment which allows replacement Noctua fans to be added to the MSI RX580 Armor GPU.
Again, we’re looking here at what you need to be included within your gaming PC which will lead your purchase option. The mainboard is basically just a circuit board that facilitates internal hardware and peripheral connection so in essence, it’s not that complicated. As a result, you can probably pick up a decent but basic board for around $50 but can pay a few thousand dollars for more advanced models. It all depends on what you want or need to connect and how well you want it to function.
Mainboard – 3D printable options
It is possible to 3D print a circuit board so by extension, it should be possible to print a mainboard. You’d then obviously need to purchase the chips and connection ports etc. and have a knowledge and skill of microelectronics. My advice would be to buy one rather than make one but it could be a fun project to test your skills.
Power Supply – purchase options
As I said earlier, the power supply will depend on the appropriate voltage input for where in the world you happen to be and the converted power output required for your PC. You are in essence though mainly powering the mainboard in the first instance so everything else stems from there.
Power supply’s can be bought for as little as around $30 so its not a massive part of your budget but is of course essential.
Power Supply – 3D printable options
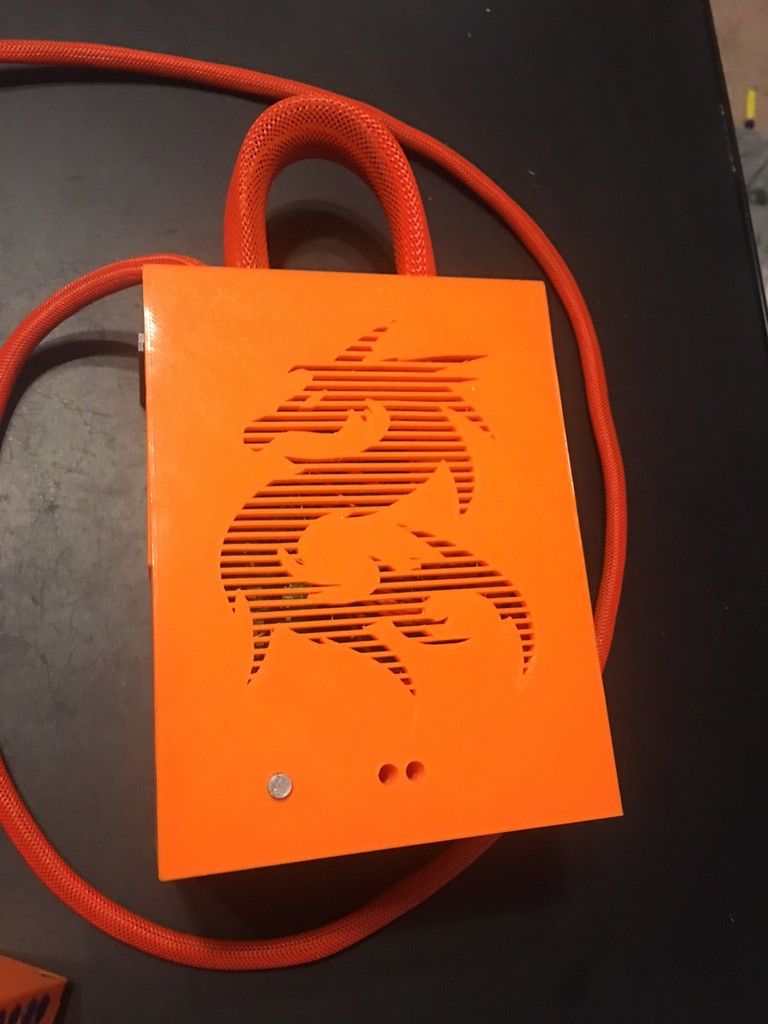
The thing you’re looking at in this case is, in fact, the case! This will be mainly an aesthetic choice but could also give additional ventilation if required. Depending on the design you choose it could also allow you to adapt the size and shape of the power box and place additional attachment option for the PC’s outer case.
This design shows a dragon patten on the cover which also adds ventilation but you could of course create your own design. Each power supply will be different but this will give you an idea of what you can achieve using your 3D printer.
Memory and Storage – purchase options
There’s not really that much to say here as I already discussed the options available to you and the possible needs for different memory and storage sizes. This size, quality and brand will all have a bearing on price but you can pick up a 500GB internal HDD drive for as cheap as $15 if you shop around.
Memory and Storage – 3D printable options
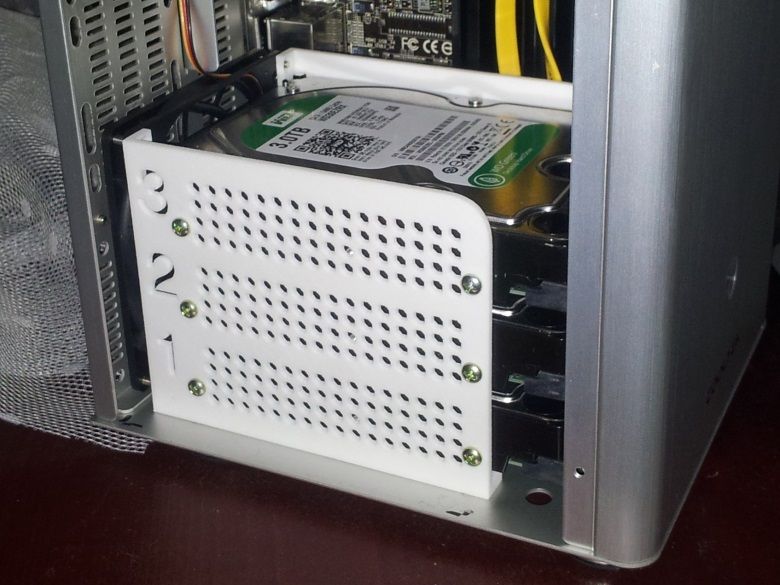
Again, not much more to add but the 3D printable aspect of the internal HDD drive would again be either a case or a mount for use inside the outer case.
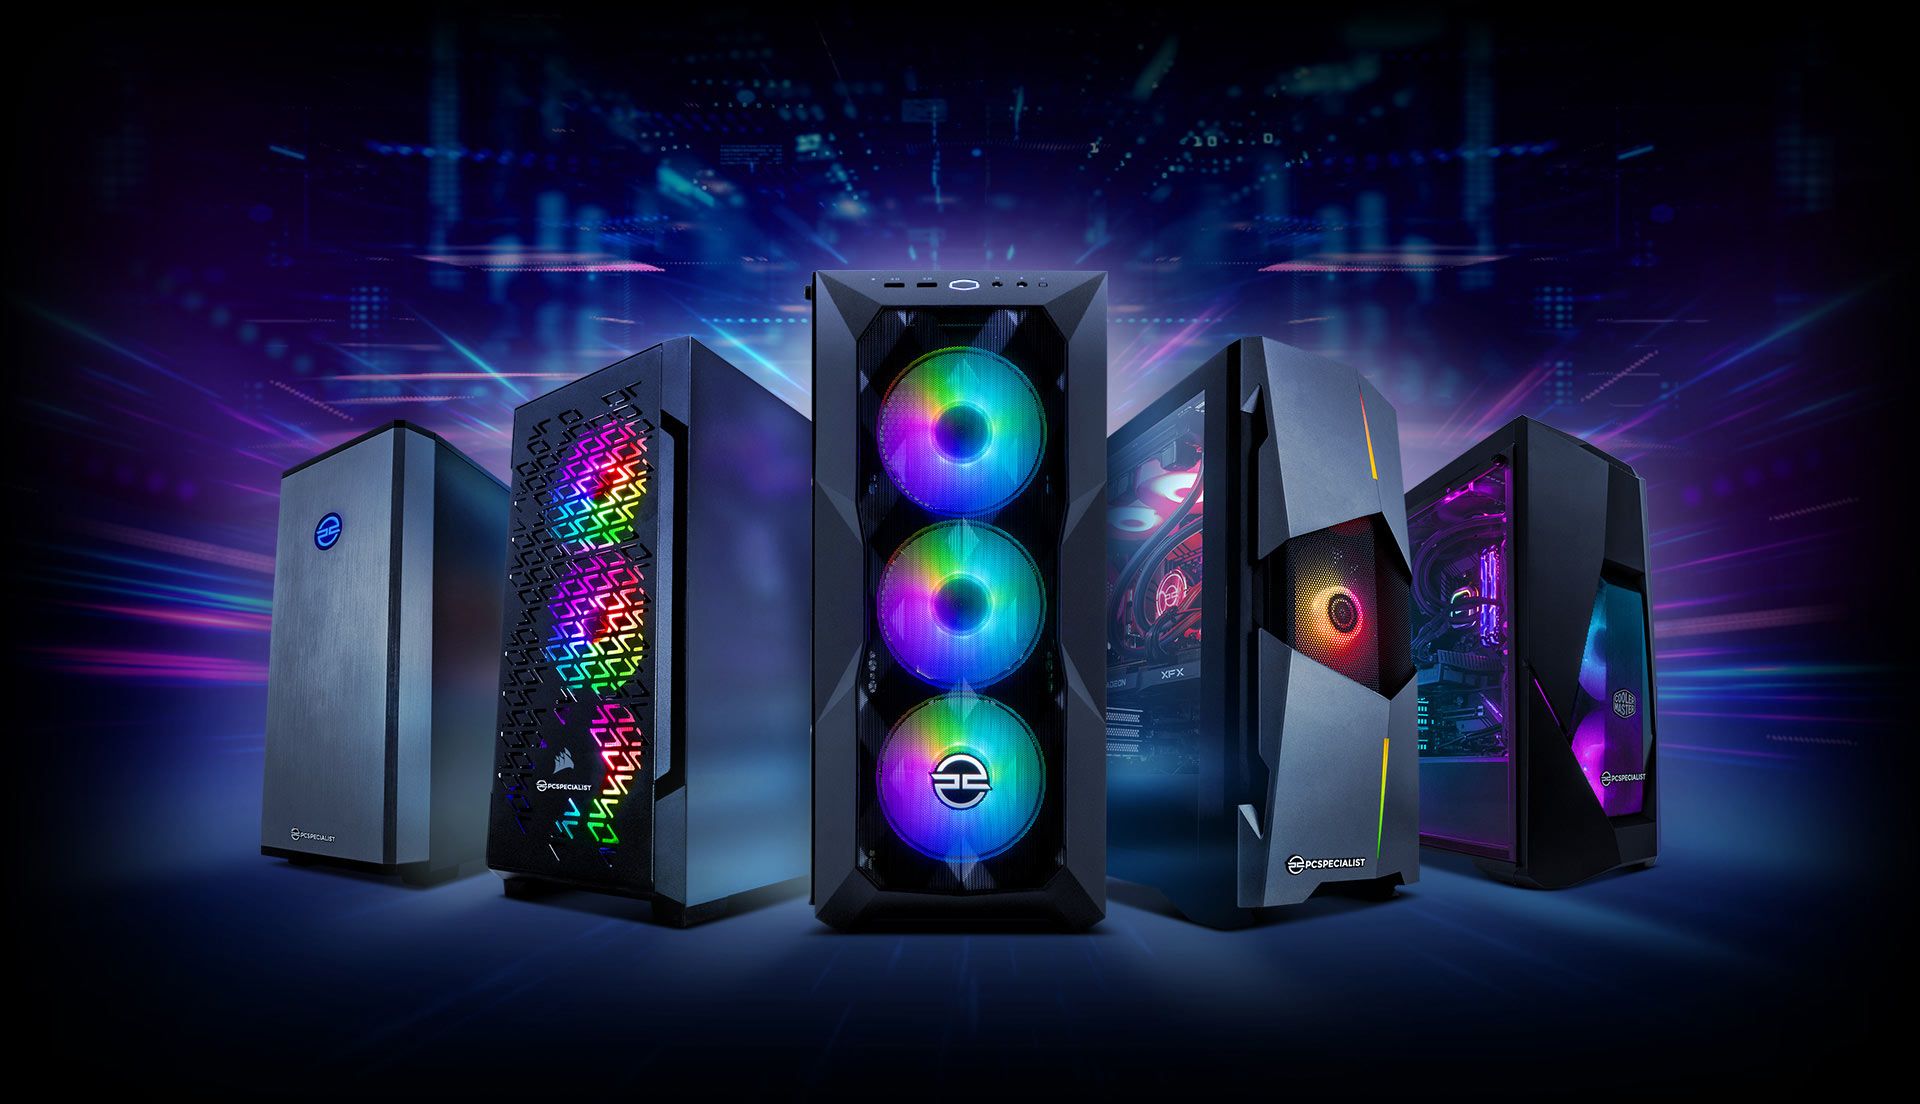
The Case – purchase options
The outer case of your PC is what you’re going to see every time you use it so it needs to be pleasing to your eye while being functional and protective of it’s internal component parts. There are many attractive PC cases out there for sale and start at around $45. The majority will have cooling fans included and also, in most cases (excuse the pun), have glass or plexiglass panels to allow viewing of the internal parts.
If though, you’re buying a PC case to build your own machine from scratch, you’ll most probably need to buy it first to ensure that all your other bits and pieces will actually fit inside. This then makes things a bit more of a headache as you’ll then be limited as to what you can choose.
Not to worry though as this is where your 3D printer finally comes to the rescue!
The Case – 3D printable options
Now it’s the time for your 3D printer and your design techniques to come into their own and create the perfect custom design for your PC build.
So, you’ve got all your electronics together and have all the components you need for your PC. The case then needs to be able to house these but also allow you to easily access them should you need to carry out maintenance or repairs and possibly replace a part.
As previously noted, you could also go for an open-frame design which will require less 3D printing but can pose protection issues. However, if designed and built properly, it will allow for easy maintenance access and they can look pretty cool as well.
A good example of an open frame case design can be found in this YouTube video.
There are in fact many 3D printed designs created by ingenious 3D printing enthusiasts and sites like our old friend Thingiverse are a rich vein to draw from.
Of course your case needn’t just be plain and functional but can express your creativity by adding an artistic design or pattern to the sides. Or you could print it in a colour that perfectly matches the colour scheme of your gaming room. The choices are unlimited.
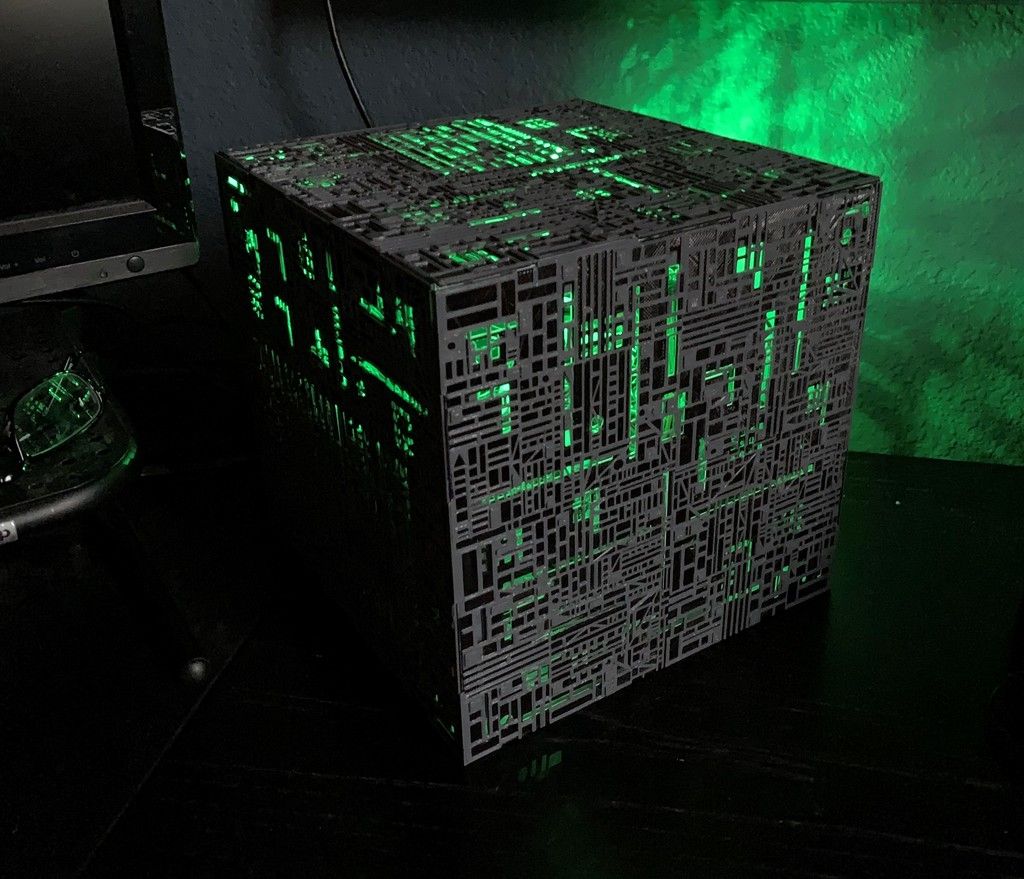
Another way to show your creativity and maybe even your fandom of a particular movie or TV show could be to style the case on a particular artifact from the show. A great example of this is this ingenious Star Trek Borg Cube which can also be found on Thingiverse.
Peripherals
Let’s then as a last look at the 3D printing possibilities of building a gaming PC consider the peripherals we mentioned earlier.
Mechanical Keyboard
A mechanical keyboard is different than a touch-typing board as it has springs under each key which allow for more defined keystrokes. This makes it a much better option for gaming as you can get the feel of the distinct key presses and reduce and missed or erroneous key hits. Most mechanical keyboards also come with a backlight which will also enhance your vison of the keys and the gaming experience. You can usually but a basic mechanical keyboard for around $20.
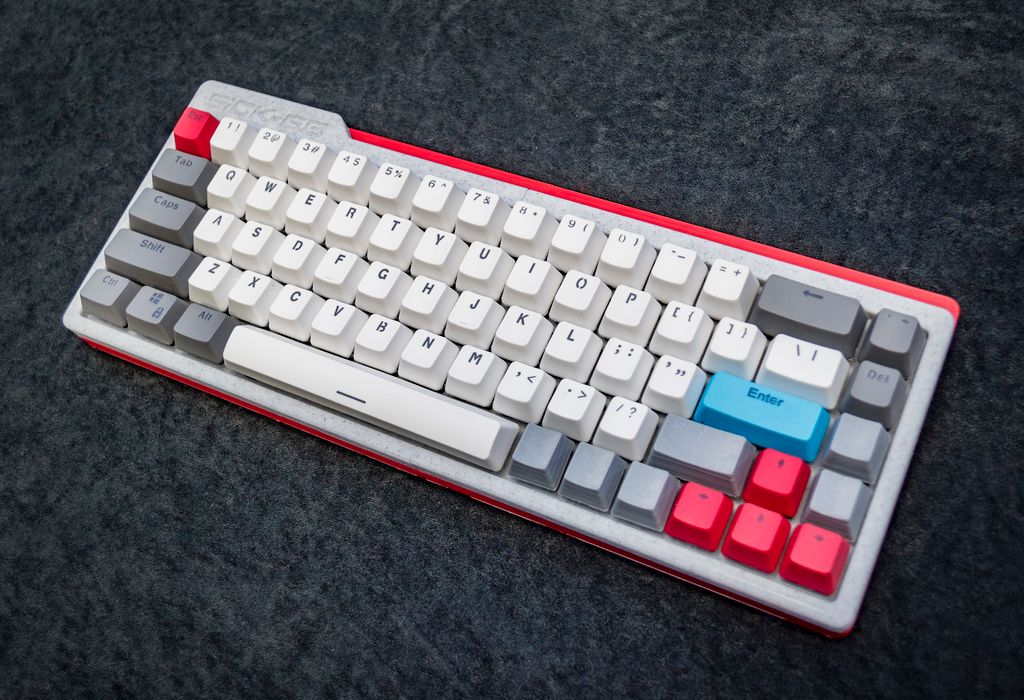
However, you may decide that the standard keys that come with the board you’ve bought need to either look better or be more customised to your own needs. For instance, in gaming terms you may find it easier to add symbols to certain letter keys that control a particular aspect of the game. The other advantage of mechanical keyboards is that each key can be individually removed and replaced without damage.
You can therefore 3D print new keys for your keyboard and replace the originals. You can even change the layout and print new framework to separate areas of the board and cover keys that aren’t used. Take a look at this project for some inspiration.
Mouse
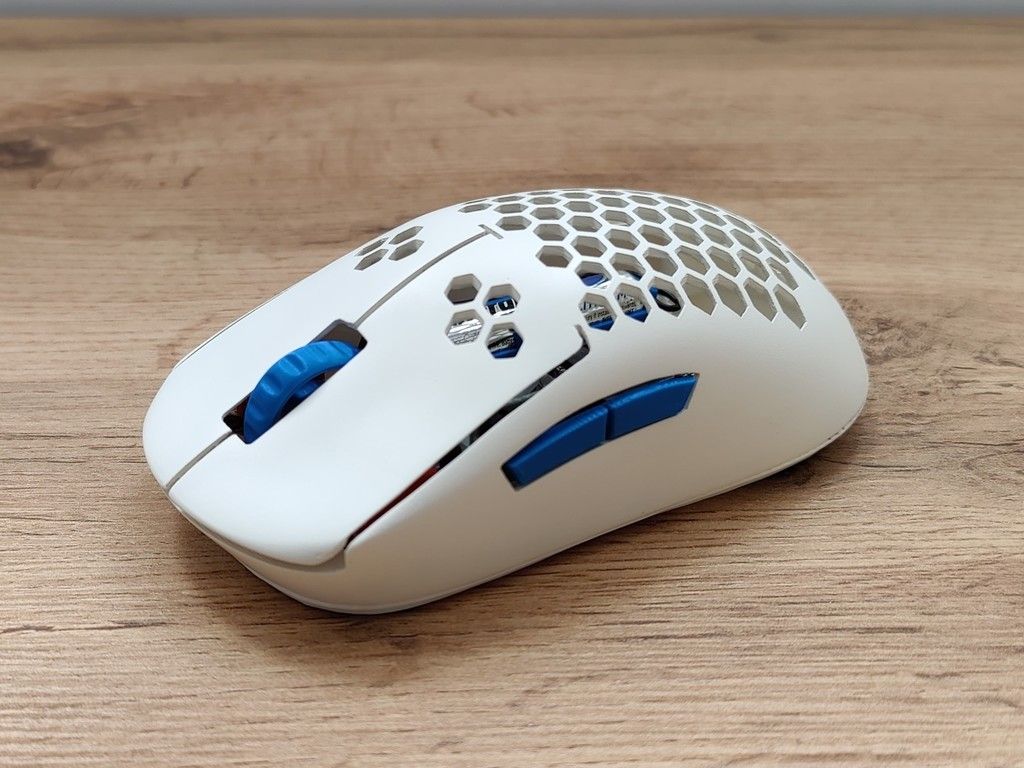
A typical computer mouse will have a right and left button and a scroll wheel in the middle. A gaming mouse will be more ergonomically shaped and have lots of additional buttons that can be programmed to control different aspects of your game. You can buy a basic gaming mouse for around $15.
The 3D printing possibilities come into play with the case again, as with the keyboard and PC case, you can personalise this or create a design based around a character or movie franchise. This may take a bit more dismantling than with the keyboard but will be worth the effort.
Here’s a good example of what I mean which you can again find of Thingiverse.
Game controller
You can buy a PC USB game controller for a few dollars but it may be difficult to get one of the right design and colour to match your design scheme. Again, you can either find a design for a new case online or create your own.
Final Thoughts
I’ve covered a fair bit of ground with building a gaming PC without going into too much of the technique of how to assemble it. The main reason for this is down to the sheer number of variations in the in the combinations you decide to make with the component parts. Its safe to say though that most of the parts that I’ve mentioned will come with connection instructions and will have online tutorials on how to use them.
With the 3D printed aspects of the build, again there are variations in what you’re adding the 3D printed part to or using it for. I’ve therefore just given a few examples of possible designs to give you a jumping off point.
It’s also worth mentioning that I wouldn’t advise using PLA for any of the printed parts that are going to be in contact with or inside the PC case. PLA would be fine for the peripherals but everything else should be printed using PETG which has better durability and heat resistance.
As a very final note, I’ve talked about designing your own 3D printed parts and I’d always suggest that a design beginner uses the free, online program called Tinkercad. This is very easy to use and would be ideal particularly for designing the PC case itself. For more advanced users or once you gain more experience, you could try Fusion 360 or Blender as alternatives.
Whatever you decide to do I hope you enjoy building your own gaming PC.


Member discussion